

Love it or hate it, binding is a necessary skill if you want to make quilts. While there are many ways to customize and create your binding, there is a tried and true method that we here at Little Denmark use to get a nice finish with as little fuss as possible every time. This method applies to quilts with 90 degree edges, and won’t work quite the same for curved edges. This is not a 100% machine sewing method, and requires you to hand-sew the back of the binding as the final step. As much as I’d love to say you can finish it all by machine, (which technically, you can), I’d be lying if I said it ever looks as nice as a hand sewn finish, and I just don’t recommend it if you really want to get the best finish to your hard work!
We always use 2.5″ strips to create the binding. The only exception might be for a very small project where 2.5″ is a little large in proportion to the project (think 12″ or smaller finished size), but even on most tablerunners, 2.5″ strips makes a perfect finish. In fact, we have a simple calculator for figuring out how much yardage your quilt needs for binding, and it uses 2.5″ as a default. You can get a free copy of the calculator on our website here.
Bias binding (cut from fabric at a 45 degree angle) isn’t necessary unless your quilt has curved edges or you are trying to get a certain pattern (like diagonal plaid from a traditional plaid print). Bias binding is super-stretchy, and a little harder to work with, so if it’s not necessary we don’t do it. It also uses extra yardage compared to width-of-fabric (WOF) strips.
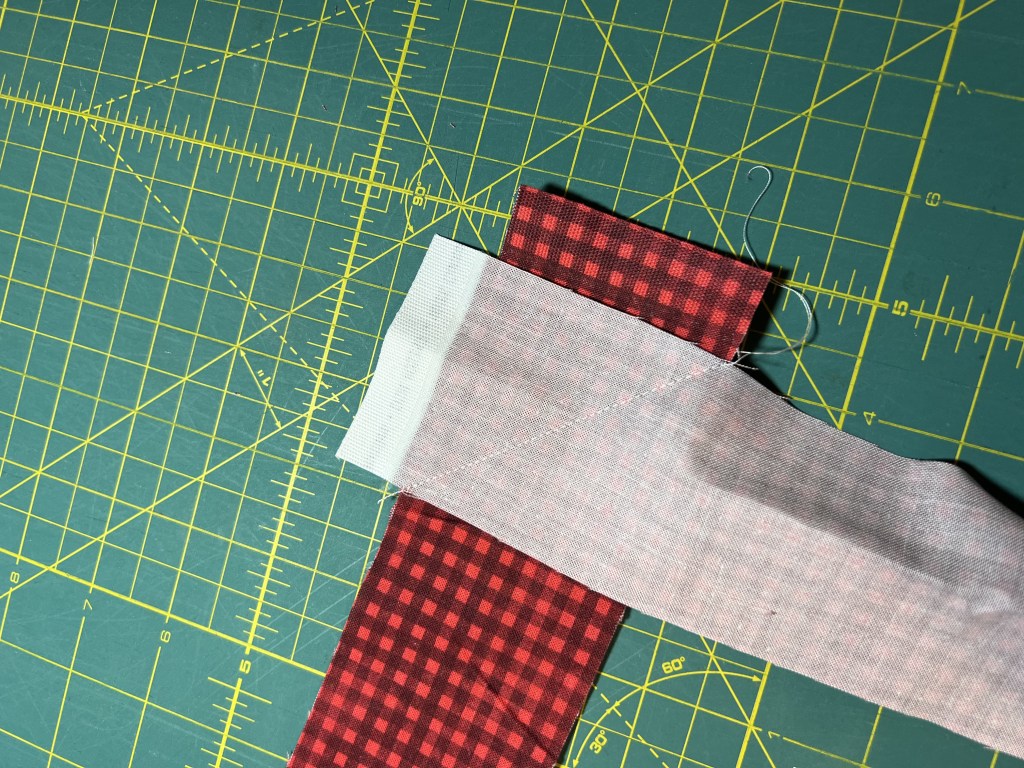
Once you’ve cut enough 2.5″ x WOF strips, you need to piece them together into one long strip, using diagonal seams. The diagonal seams create an offset when the binding is folded in half, which means less bulk and a more blended seam that doesn’t catch your eye when finished. Here’s how I like to do this to save time:
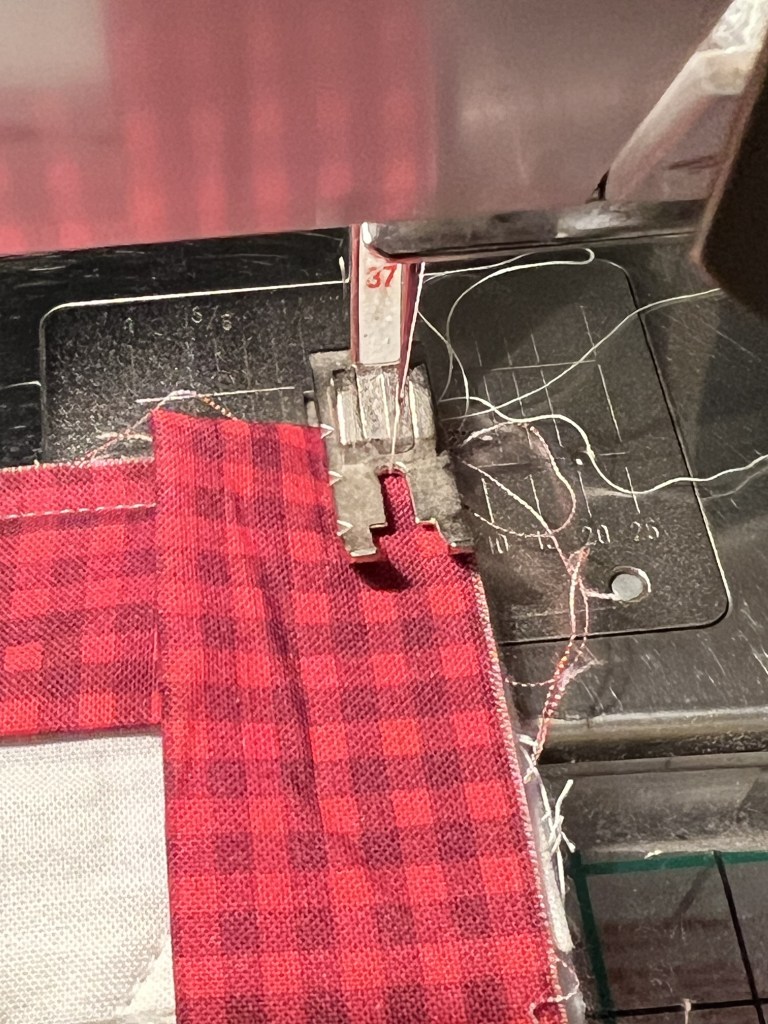
- First, layer two strips at a 90 degree angle, and sew corner to corner. You can see here that I don’t even cut off the selvage, I just overlap it and it is cut off when I trim the seam to 1/4″. If you prefer, you can cut it off fist, and layer exactly edge to edge at a 90 to sew the strips together.
- Repeat this until you have one long length of binding.
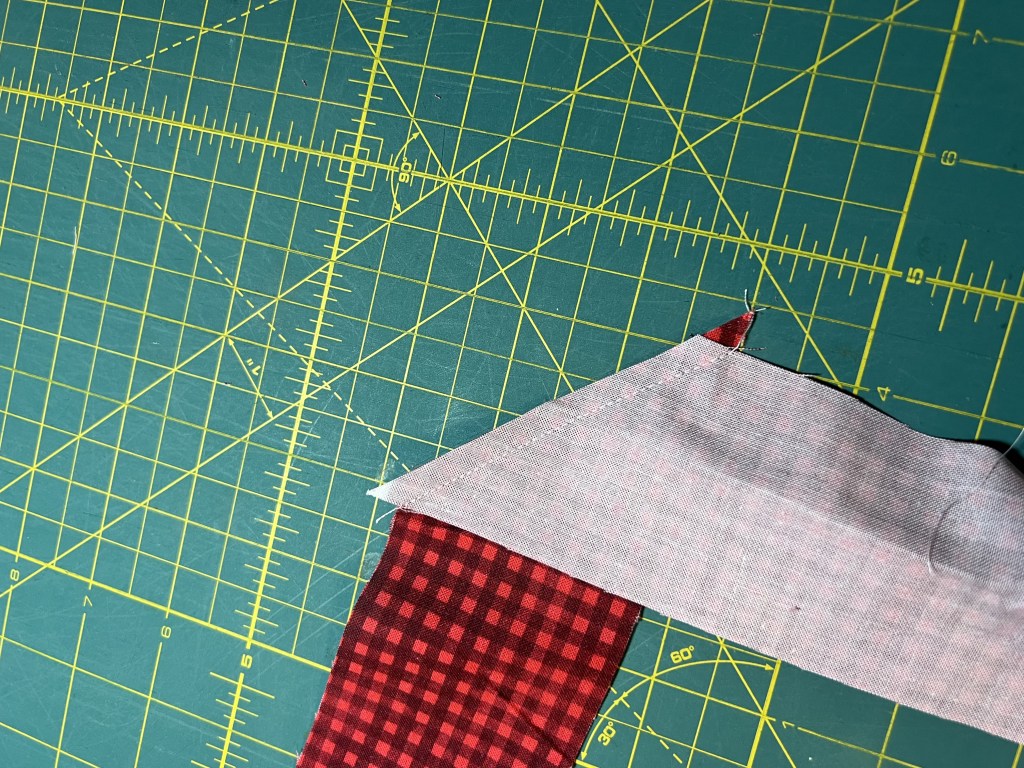
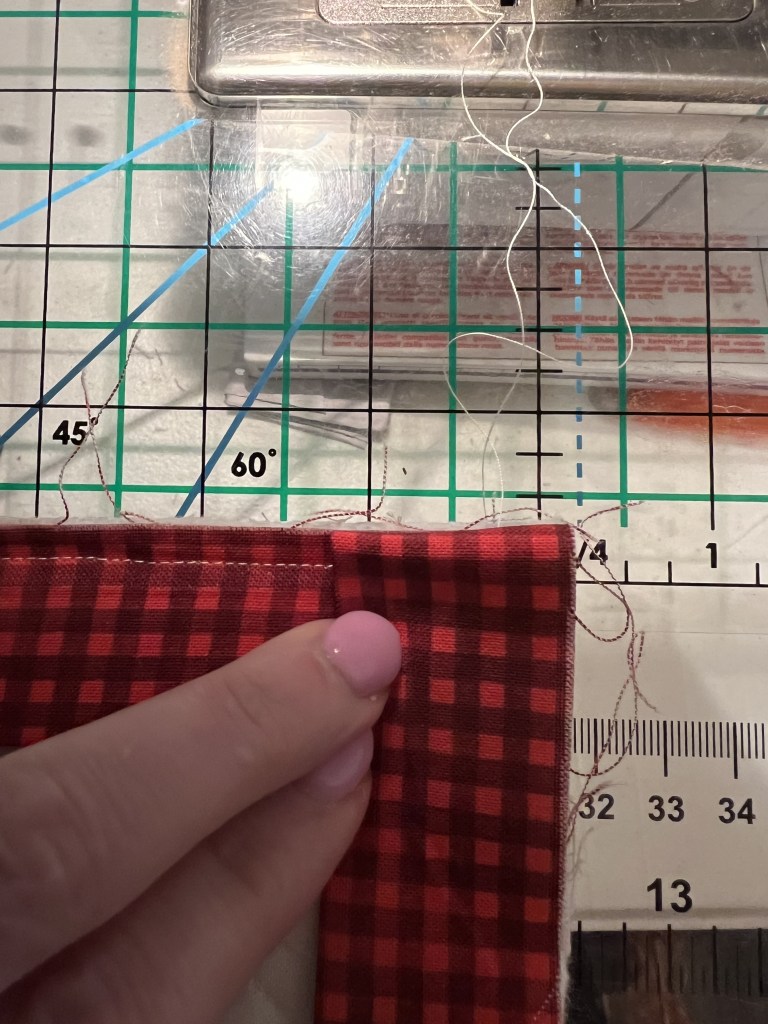
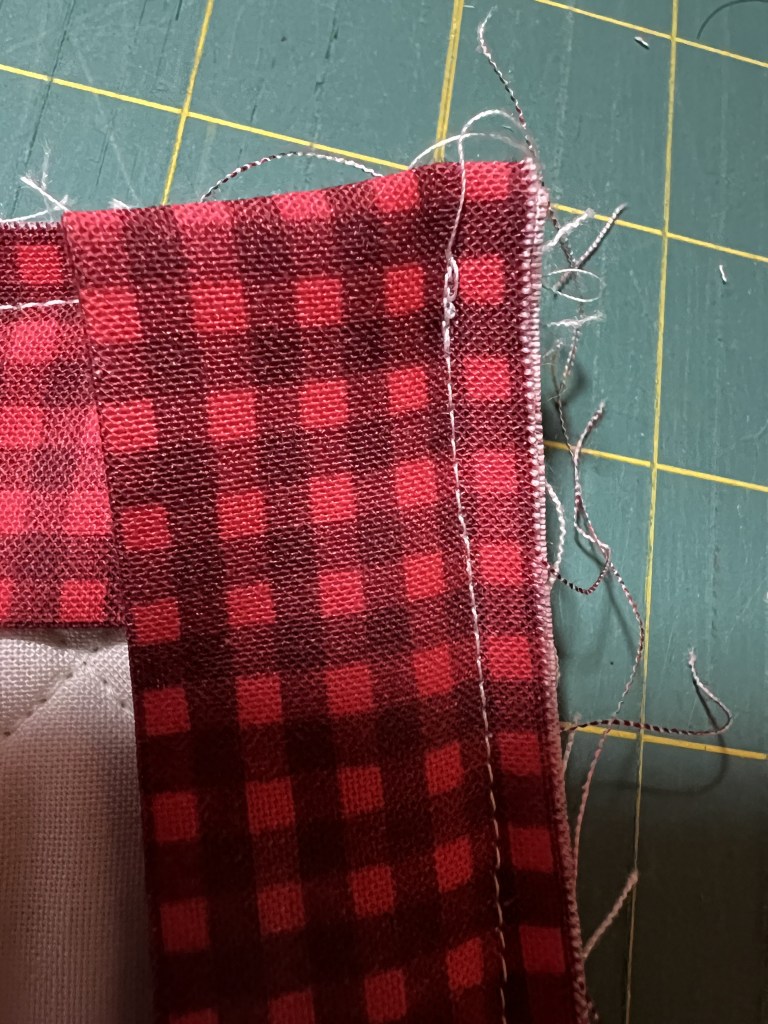
When you trim your seams, they should look like the following picture. I also cut off the dog ears, which I failed to do before taking this pic!
Next, you’re going to need to iron this long strip in half lengthwise.
First, I iron these seams open to reduce bulk. Then, I iron the strip in half the entire length. Be careful in this step not to stretch the binding as your iron!
You can do this by hand, but I really like using the Binding Eaze for this step! Check out the video below to see what this looks like. (And forgive my 25 year old ironing board topper, it is overdue for re-covering and has lots of what I like to think of as………character!)
Now that you have created your binding and ironed it, it’s time to sew it to your quilt! There are a few things you can do to make this step go a little easier:
- Trim your quilt top as square as you can.
- Make sure you trim to the edge of your quilt top. You are going to sew the binding with a 1/4″ seam allowance, so take time to make sure you have trimmed enough that you are going to catch the quilt top all the way around the edge in 1/4″.
- We always quilt right up to, if not past, the edges of the quilt, but if your quilting design doesn’t go all the way to the edge, consider sewing a 1/8″ seam allowance all around your quilt top to secure it to the backing and prevent puckers or shifting as you attach the binding.
- Make sure you have enough room around your sewing machine to maneuver your quilt top. The larger the quilt, the more helpful it will be to have some table on the left of your machine and back of your machine for the weight of the quilt to rest on.
For years we used the “tuck the ends” method to finish the binding, which you have probably seen as it’s pretty common. It creates some bulk where your binding start and stop meet each other, because you end up with 4 layers of binding fabric for a few inches instead of just 2 layers.
Last year, I discovered The Binding Tool and now use it every time to reduce the bulk when matching the two ends of your binding. This means I start out by leaving at least a 10″ tail on my binding before I start sewing it to the quilt edge. For this tutorial, I will assume you are also going to use The Binding Tool.
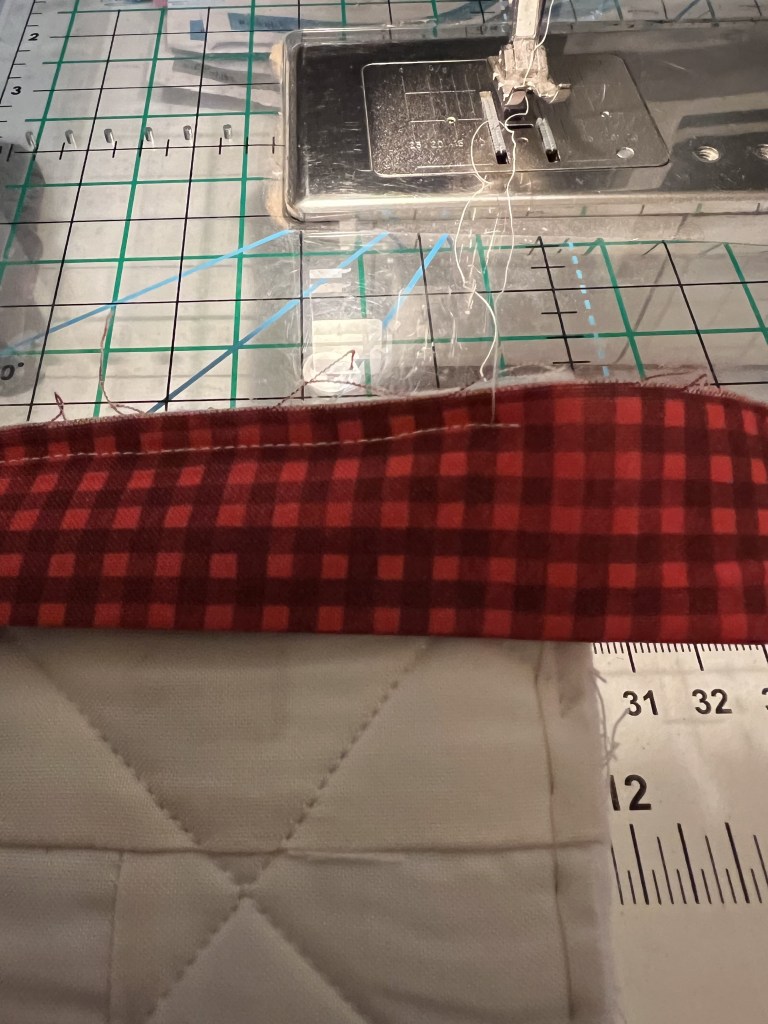
- You’re going to sew the binding, raw edges matching, to the front of the quilt.
- I like to start near the lower third of one side of the quilt, at least 12″ from any corner, and leaving my 10″ tail.
- When you’re using The Binding Tool, you need to have exactly 12″ from your stop and start point of the binding. This is part of what makes this method work, so measure and mark exactly 12″!
- I mark mine with pins, like this:
Once you’ve started sewing the binding to the quilt, corners are the most difficult part of this process.
- When you get to a corner, you want to stop 1/4″ from the edge.
- Pull your quilt out from your machine and turn it to face the next direction.
- Fold your binding up away from you, and then back toward you, creating a fold at the corner, as demonstrated in the following two pictures.
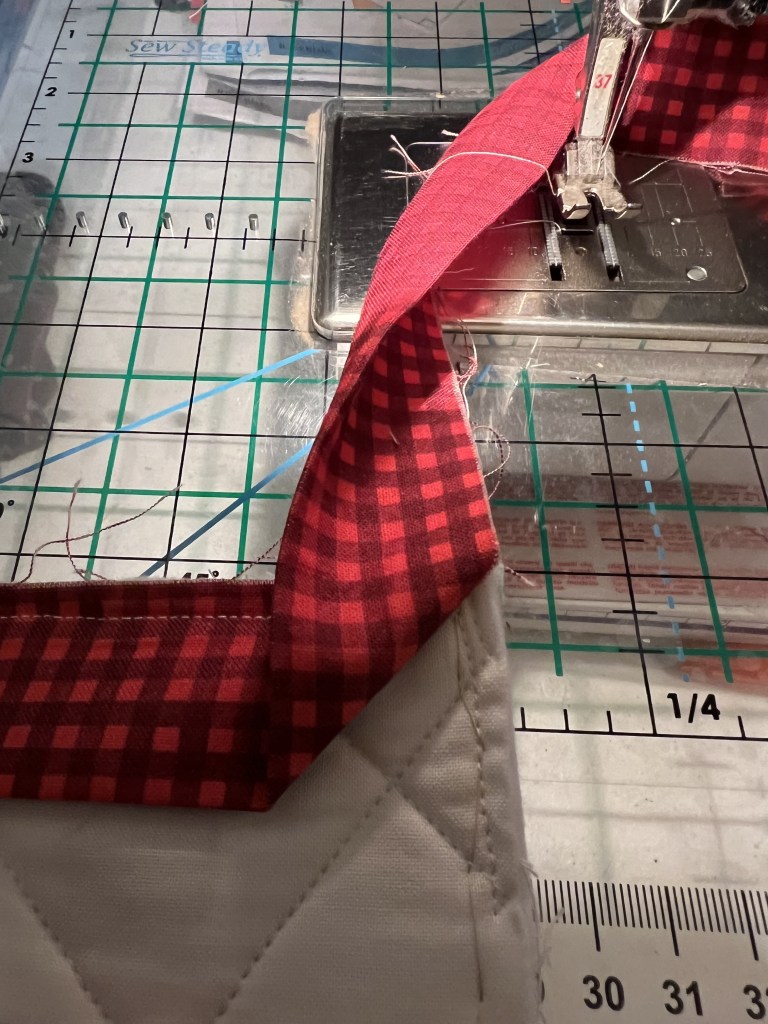
- *Here’s an important tip! If you leave a tiny bit more than a perfect 90 degree fold here, you’ll get a better resulting look to the corner when you fold it around to the back. Let just a little bit (1/8″ or less) of the fold hang past the top edge, the area above my fingers here. Folding it too tightly or below the quilt edge won’t give you quite enough for a nice finish on the corner. If you’re corners look pulled or pinched after you wrap the binding to the back of the quilt, try leaving a little more here!
- Once you’ve folded the corner, put your quilt back under your sewing machine, and begin sewing 1/4″ in from the corner.
Here is a video showing how I do this in real time:
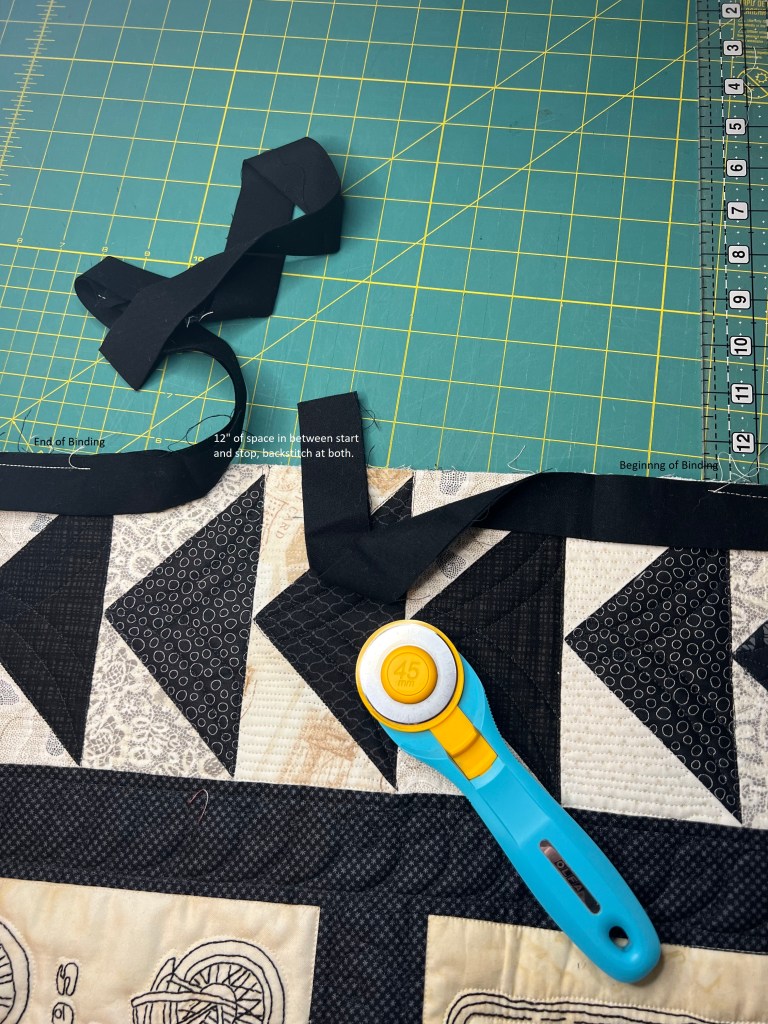
Now you simply continue sewing your binding around all four corners and sides, repeating this process at each corner until you’re back to the point that’s exactly 12″ from your starting point.
Remember to backstitch at the end, at your 12″ mark, before pulling the quilt out from the sewing machine and taking it to the cutting board for the next steps. Here is what your quilt looks like at this point:
Once you have your binding sewn on the quilt, with only a 12″ gap, you’re ready to finish attaching the ends to each other. The instructions are on the tool, and here is a video of exactly how I do this with The Binding Tool:
When you’ve connected your binding ends as shown, simply sew the 12″ space together and your binding is ready for finishing! Don’t get frustrated if this step takes a few tries or a few quilts before you start to remember how it works and find it easy to do. Once you have done it a few times, it is just as easy or easier than tucking your ends together, and such a nicer finish!
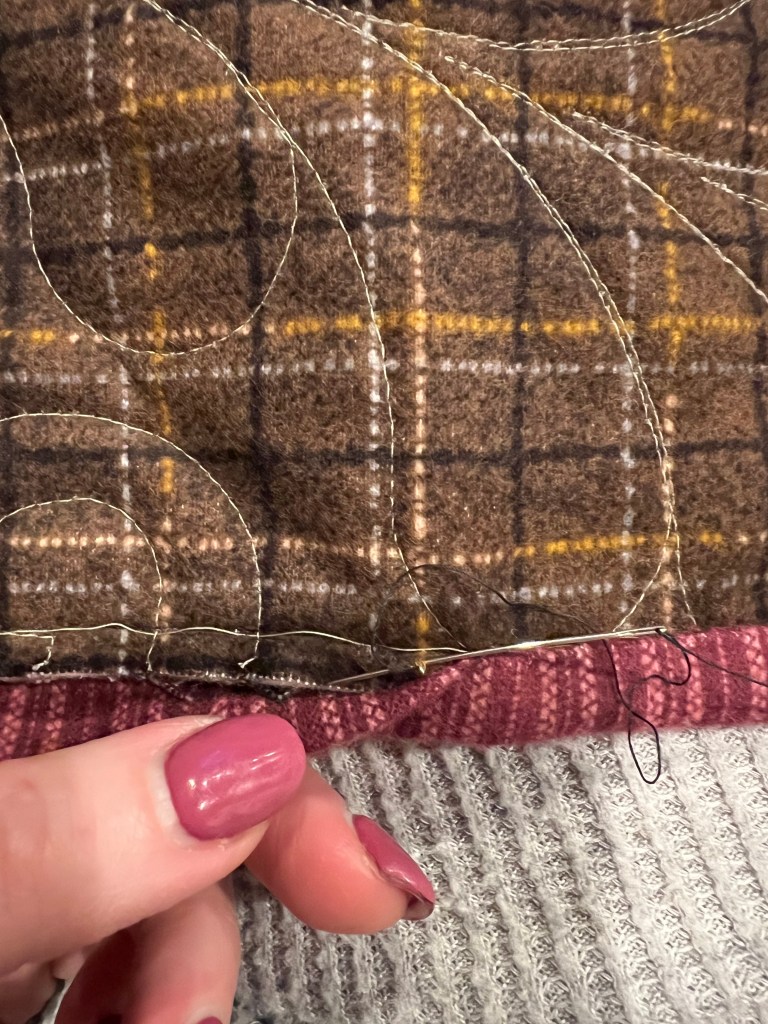
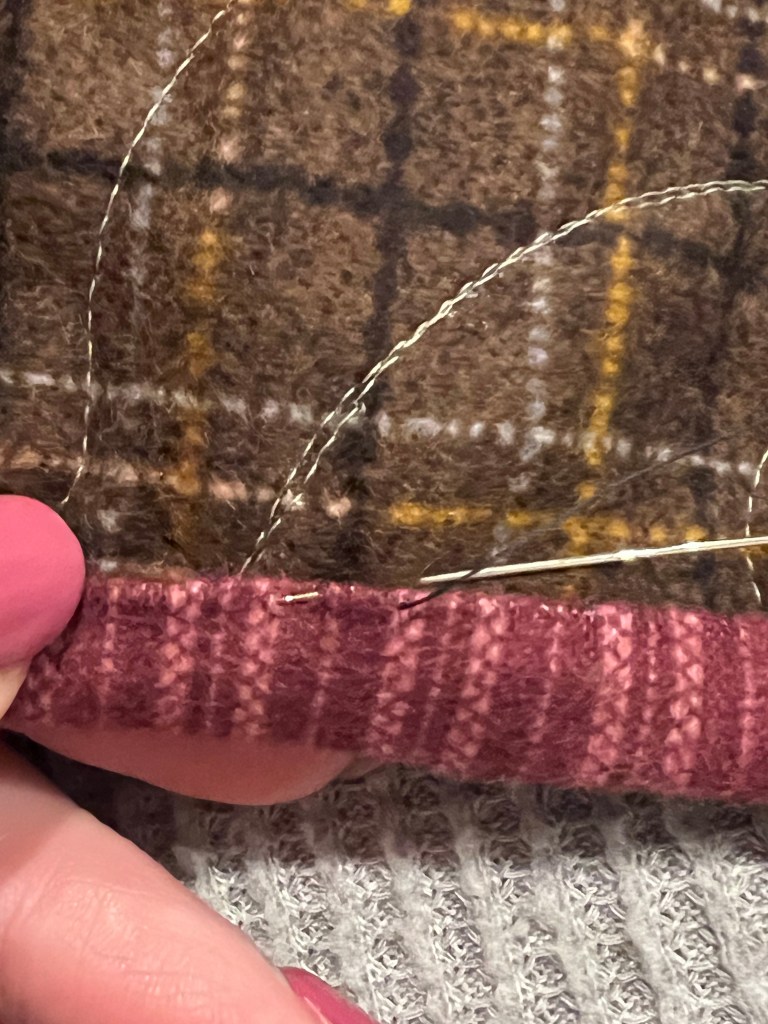
The final step to finish your quilt is to wrap your binding around to the back and use a hand whip-stitch to finish it. Cozy up to a good audio book, a movie, a sports game…….you get the idea! Try to enjoy the process, which I am still learning to do because it requires me to relax, ugh! Use your preferred hand sewing needle, and don’t be afraid to try different needles and thimbles until you find you perfect fit for you.
To make this look as nice as possible:
- Choose a thread that will blend with the binding color.
- Fold the binding to the back of the quilt consistently, just enough to cover your machine stitched seam on the back, but past your seam far enough that your hand needle has room to glide in and out of the quilt back easily.
- You are catching only the back of the quilt here, be careful not to catch the front too or you’ll see little binding stiches on your quilt top!
- Take a few extra stitches in the angle of each corner to ensure it’s tacked down and durable.
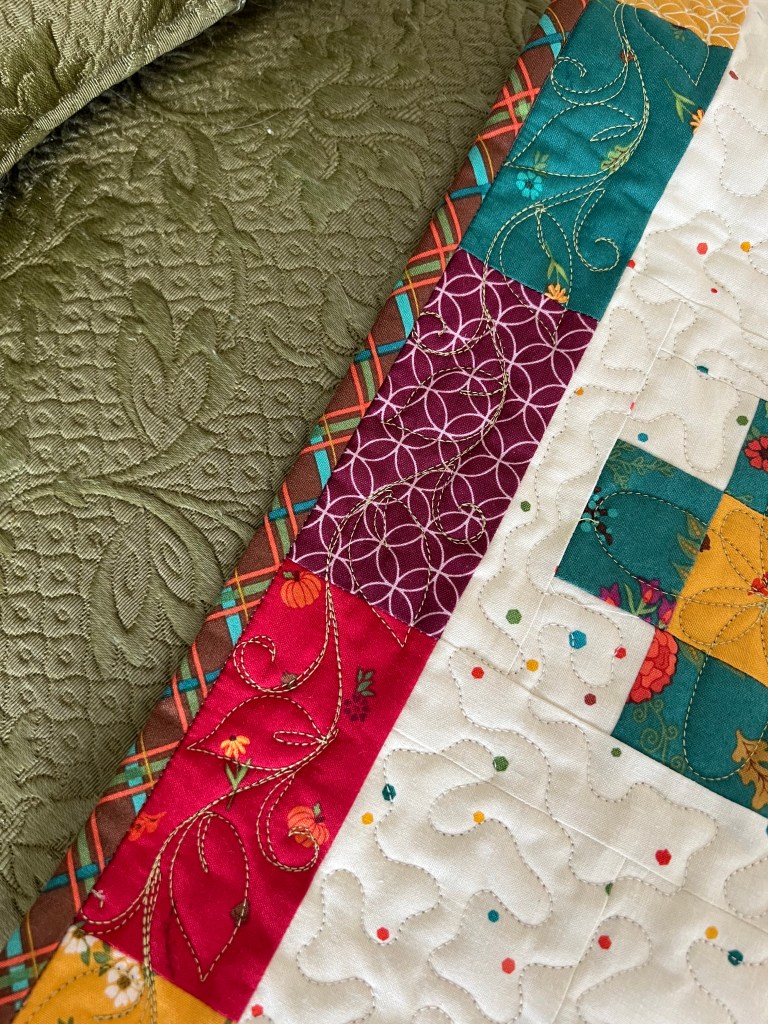
Here are some photos of what this looks like:
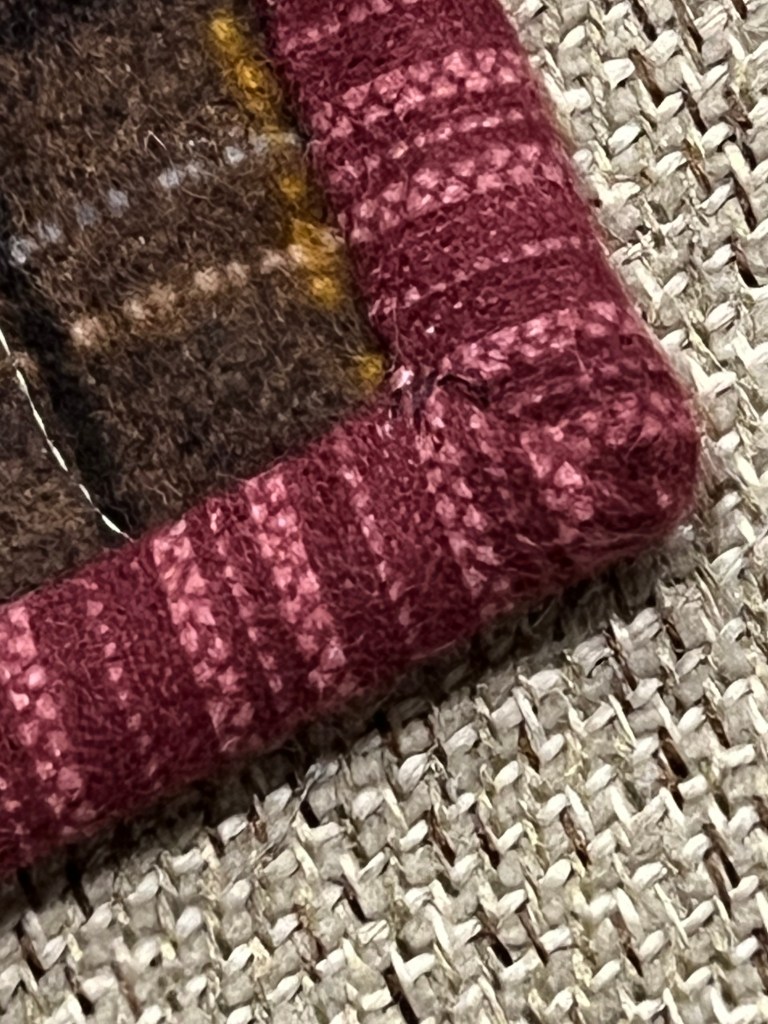
Congratulations! Your quilt is complete and sure to become an heirloom! Do you use this method? Do you prefer another? Or, did I leave you with questions? Be sure to comment and let me know!


Leave a comment